Subtotal $0.00 Subtotal: $0.00
Methods migrating
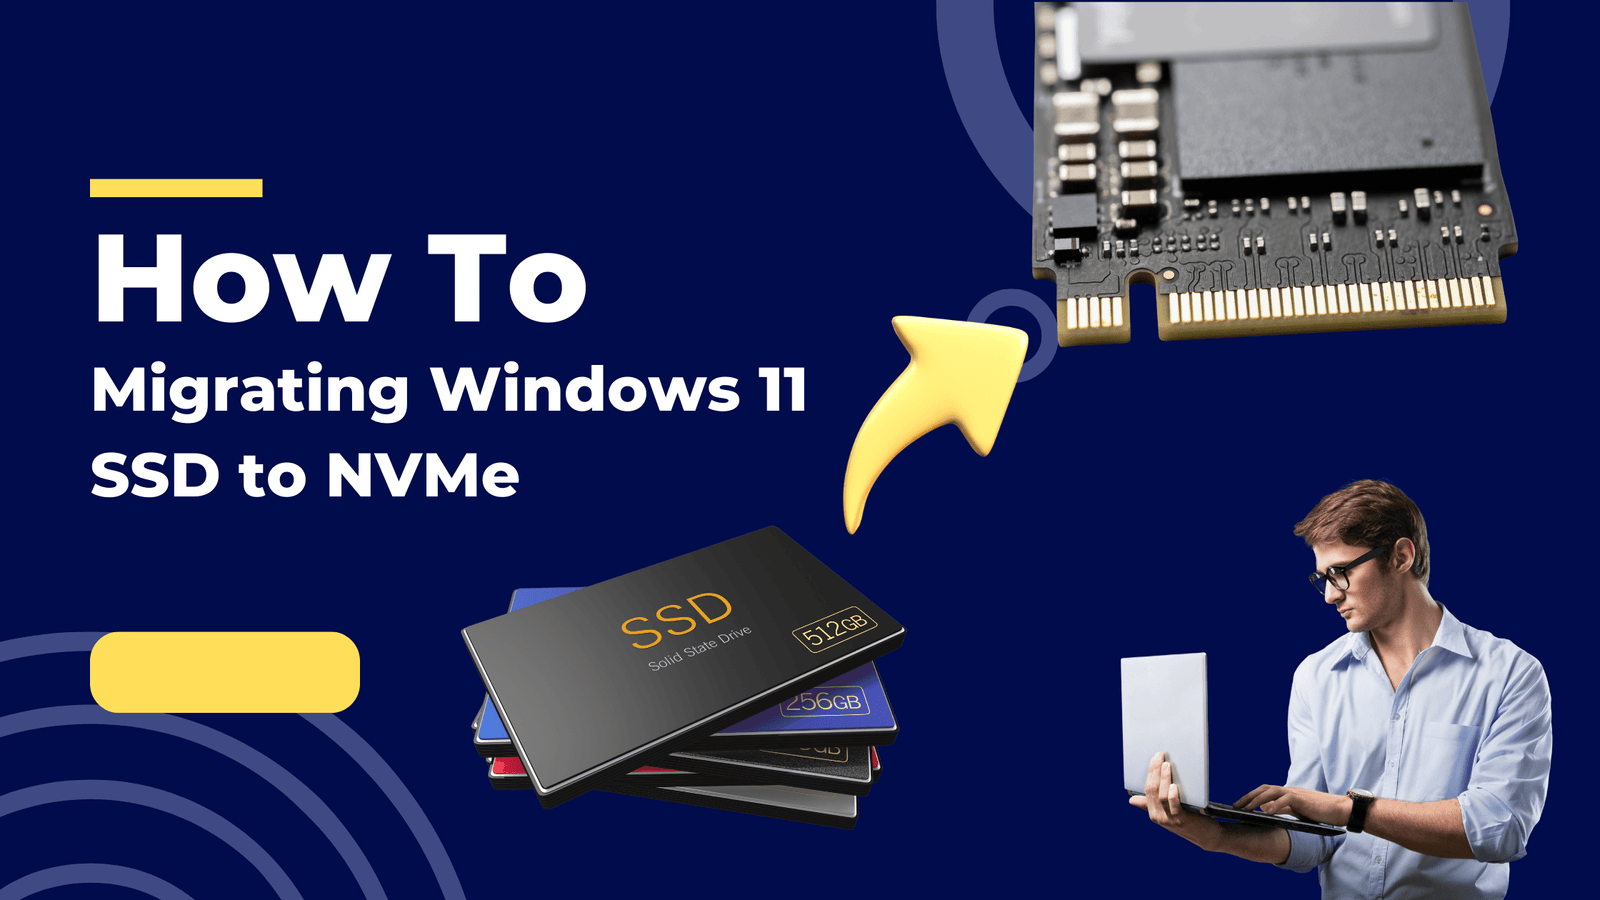
Migrating Windows 11 from SSD to NVMe SSD is a process that involves cloning your existing operating system and data from your old drive to your new one. This can help you improve your system performance, boot speed, and storage capacity. However, you need to be careful and follow some steps to ensure a successful migration.
Step by step
There are different methods and tools that can help you migrate Windows 11 from SSD to NVMe SSD, but I will show you one of the most popular and reliable ones. You will need the following:
- A new NVMe SSD that is compatible with your motherboard and has enough space to hold your OS and data.
- A screwdriver and an anti-static wrist strap to install the NVMe SSD on your motherboard.
- A backup of your important files and data on an external drive or cloud service.
- A disk cloning software that supports NVMe SSDs, such as EaseUS Partition Master.
The steps are as follows:
- Back up your important files and data on an external drive or cloud service. This is a precautionary measure in case something goes wrong during the migration process.
- Install the NVMe SSD on your motherboard using the screwdriver and the anti-static wrist strap. Make sure the power is off and the system is unplugged before you do this. You can refer to your motherboard manual or online guides for instructions on how to install an NVMe SSD.
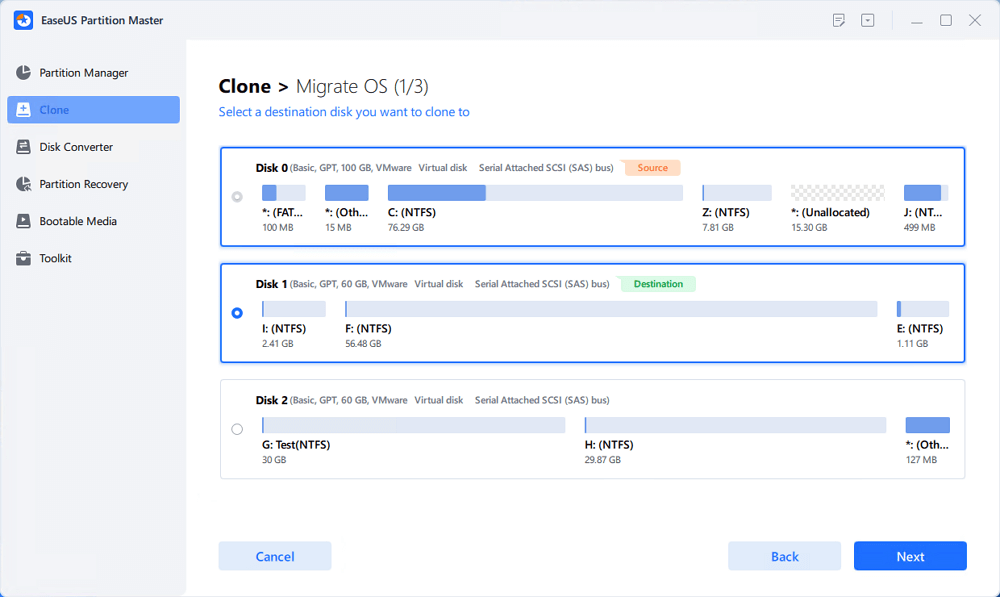
- Download EaseUS Partition Master from this link and install it on your computer. Launch the software and select “Clone” from the left menu. Check “Migrate OS” and click “Next”.
- Select the SSD as the source disk and then select the NVMe SSD as the destination disk. Click “Next”. Check “Warning: the data and partitions on the target disk will be deleted.” Click “OK”.
- Adjust the size and location of the partitions on the NVMe SSD as you wish. You can also keep the default settings if you are not sure. Click “Proceed”.
- Wait for the cloning process to finish. It may take some time depending on the size of your data. Do not interrupt or shut down your computer during this process.
- Restart your computer and enter BIOS or UEFI settings. You may need to press a specific key such as F2, F10, or Del to do this. Change the boot order to make the NVMe SSD the first boot option. Save and exit.
- Boot your computer from the NVMe SSD. You should see Windows 11 loading normally with all your files and settings intact.
Congratulations! You have successfully migrated Windows 11 from SSD to NVMe SSD without reinstalling Windows. You can now enjoy a faster and smoother performance on your computer.